
Editing guide · Photoshop
Frequency Separation in Photoshop, and When Not to Use It
Frequency separation splits a portrait into two layers: a blurred low-frequency layer that holds colour and tone, and a high-frequency layer that holds texture such as pores. You smooth blotchy tone on the low layer and fix blemishes on the high layer, so skin evens out without losing its texture. It is the right tool for uneven tone on a hero portrait, and more than most jobs need.
Every Photoshop command below is Adobe’s. The Apply Image values in step 5 are the standard recipe retouchers use rather than anything Adobe documents; we explain why they work so you can check them.
Key takeaways
- Frequency separation puts colour and tone on a blurred low layer and texture on a high layer, so each can be retouched without damaging the other.
- The high layer is made with Image > Apply Image; the settings differ for 8-bit and 16-bit files, and the high layer’s blend mode is Linear Light.
- Retouch tone on the low layer (feathered Lasso and Gaussian Blur) and blemishes on the high layer (Clone Stamp or healing on the current layer only).
- For a few blemishes, a Spot Healing Brush pass is faster. For a whole gallery, a negative Texture value in Lightroom or Camera Raw is the practical choice.
- Over-blurring the low layer is what makes skin look plastic. Pores should survive the retouch.
Last reviewed by the Pinnacle Edits editing team.
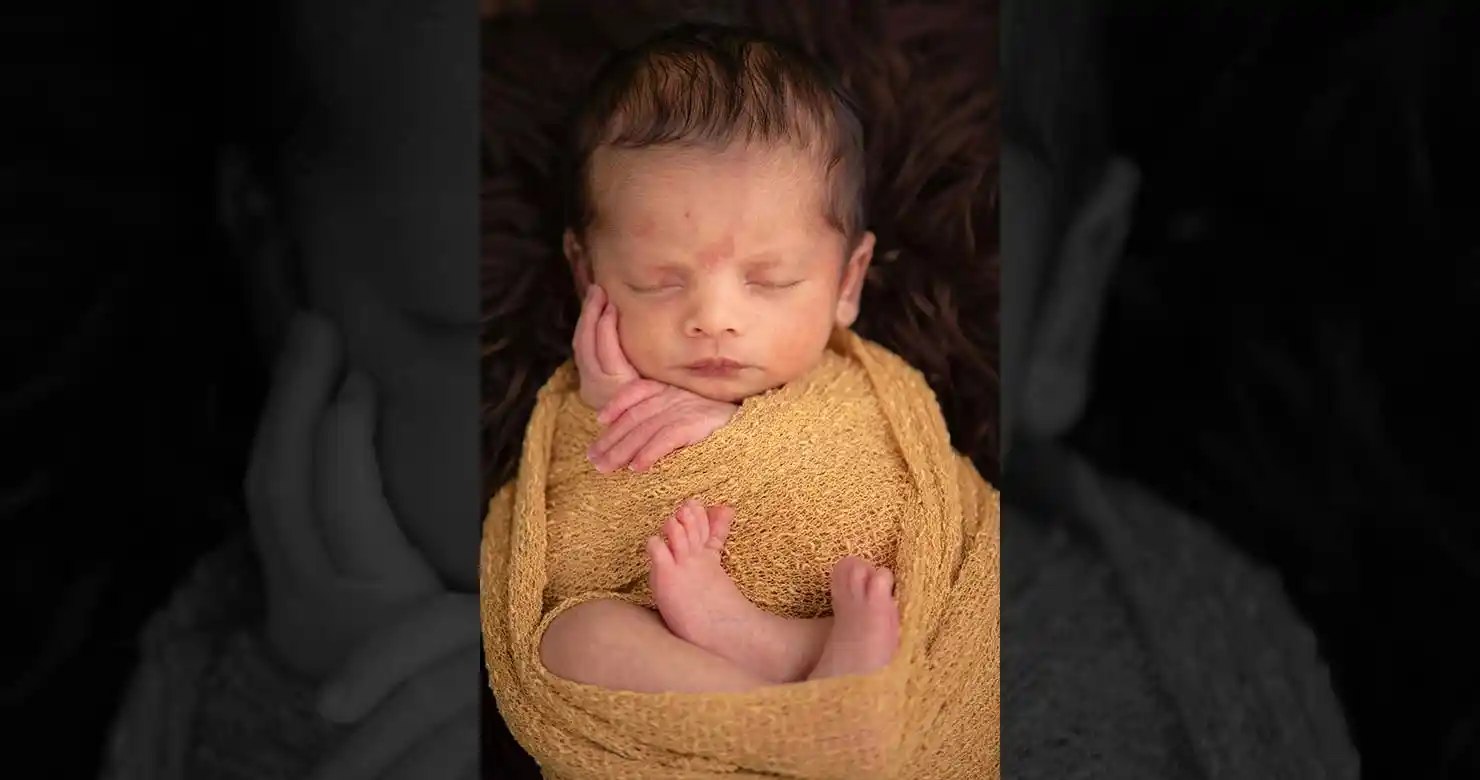
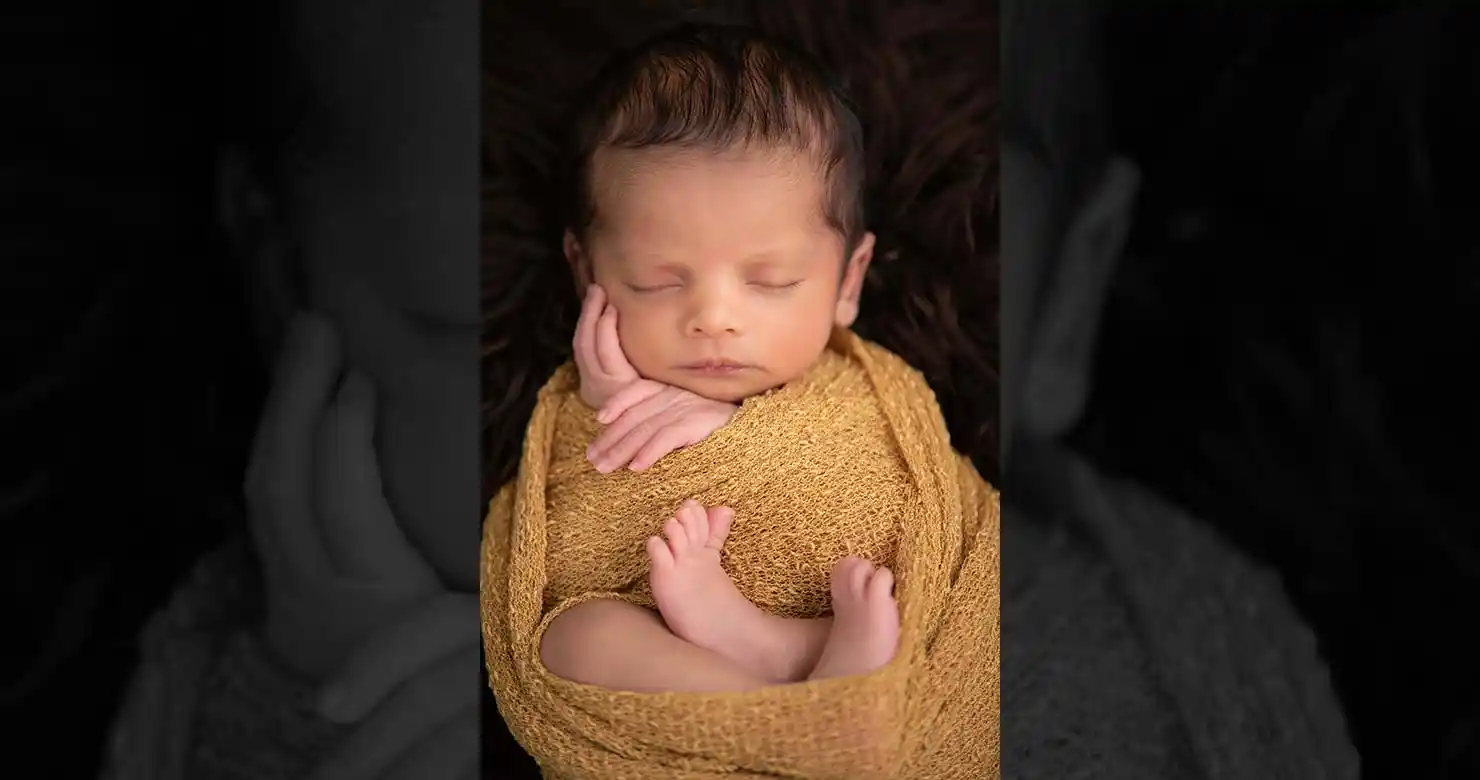
How to do frequency separation in Photoshop, step by step
Shortcuts are written Windows / macOS where they differ. Read the section after the steps first if you are not sure the photo needs this.
Check the bit depth
Photoshop
The settings in step 5 depend on it. Image > Mode shows whether the file is 8 Bits/Channel or 16 Bits/Channel. A raw file opened from Lightroom or Camera Raw is often 16-bit; a JPEG is 8-bit.
Make two copies of the image
Photoshop
If the file is a single background layer, press Ctrl+J / Cmd+J (Layer Via Copy) twice. If you have already retouched on other layers, use Stamp Visible instead (Shift+Alt+Ctrl+E / Shift+Option+Command+E), which merges what you see into a new layer, and do it twice.
Name the lower copy Low and the upper copy High. Hide High for now.
Blur the low layer until the texture is gone
Photoshop· our practice, not a rule
Select Low and choose Filter > Blur > Gaussian Blur. Raise the radius until pores and fine blemishes disappear but the shapes of light and shadow on the face are still there.
The right radius depends on the resolution and how much of the frame the face fills, so judge it by eye. For a head-and-shoulders portrait from a typical full-frame camera we often land somewhere between 4 and 10 pixels. Note the number: step 5 does not need it, but your next portrait from the same camera will.
Build the high layer with Apply Image
Photoshop
Show and select High, then choose Image > Apply Image. Set Layer to Low and leave Channel on RGB.
8-bit file: Blending Subtract, Scale 2, Offset 128, Invert unticked. 16-bit file: tick Invert, Blending Add, Scale 2, Offset 0.
Why it works: Adobe’s Apply Image divides the result of Add or Subtract by the Scale and then adds the Offset. Subtracting the blurred layer leaves only the detail; dividing by 2 and adding a mid-grey offset keeps that detail centred on mid-grey. The 16-bit version reaches the same result by adding the inverted blur; retouchers use it because the Subtract version is widely reported to leave small rounding errors in 16-bit files.
Set the high layer to Linear Light
Photoshop
In the Layers panel, change High’s blend mode to Linear Light. The image should now look exactly like the original. Toggle both layers off and on to check; if anything shifts, the Apply Image settings did not match the bit depth.
Select both layers and press Ctrl+G / Cmd+G (Layer > Group Layers) to keep them together.
Even out tone on the low layer
Photoshop· our practice, not a rule
Select Low. With the Lasso tool (L) and a generous Feather set in the options bar, select a blotchy patch, such as redness on a cheek or a shadow under the eye, and run Gaussian Blur on just that selection. Work patch by patch, staying within one plane of the face so you do not blur across the jawline or the nose.
Some retouchers use the Mixer Brush (in the B group) on the low layer instead. Either way, this is where the evenness comes from, and where most over-retouching happens. We aim for transitions that look smoother, not for one flat tone.
Fix blemishes on the high layer
Photoshop
Select High. Use the Clone Stamp (S) or the Healing Brush with Sample set to Current Layer, and Alt-click / Option-click a clean patch of skin texture nearby as the source. Because High holds only texture, you are replacing a spot with real pores, and the colour underneath is left alone.
Fade it back and check at full size
Photoshop· our practice, not a rule
Lower the group’s opacity until the skin looks rested rather than retouched. Then view at 100%: if pores have gone anywhere on the face, the low layer was blurred too far or the high layer was cloned too broadly. Compare against the original by toggling the group.
When not to use frequency separation
A few blemishes on otherwise good skin
The Spot Healing Brush on an empty layer, with Sample All Layers ticked, fixes them in a minute. Setting up two layers and a group for three spots is slower and adds nothing.
A whole wedding or event gallery
Frequency separation is per image and per face. For hundreds of frames, a brushed or Select People mask in Lightroom with a negative Texture value does the job; Adobe describes decreasing Texture as a way to soften the appearance of skin texture in portraits. Keep frequency separation for the hero portraits.
Newborns and young children
Their skin is already smooth; the problems are redness, marks and blotches, which are colour, not texture. A light colour correction and spot healing keep a baby looking like a baby. In our experience frequency separation on newborn skin is the quickest route to a doll-like result.
Small web images and social crops
At the size most people will see them, the texture frequency separation protects is barely visible. A lighter pass is enough.
When you blur the low layer too far
Too large a radius, or blurring across the edges of the face, flattens its shape and is what makes skin look plastic. If the face loses its contours, start step 6 again with a smaller selection and less blur.
Prefer to hand it off?
Send us the portraits that need skin work
Our studio retouching evens out tone while keeping skin texture, worked face by face rather than by preset. Portrait retouching covers people work more widely, and newborn editing is a separate, much lighter service, because adult retouching on newborn skin does not work. If you retouch in layers yourself, our outsourced editing team takes layered PSD work, frequency separation and dodge and burn included.
- Studio portrait retouching — tone evened, texture kept
- Photo retouching — portrait and people retouching
- Newborn photo editing — a light hand for newborn skin
- Outsourced photo editing — layered PSD retouching
The free trial is 5–10 of your own photos, edited and returned. No card required.
Frequency Separation
Quick Questions
What is frequency separation in Photoshop?
A retouching technique that splits an image into a blurred low-frequency layer holding colour and tone and a high-frequency layer holding texture. Retouching them separately evens out skin tone without erasing pores.
What Apply Image settings do I use for 8-bit and 16-bit?
For an 8-bit file: Layer set to the blurred layer, Blending Subtract, Scale 2, Offset 128. For a 16-bit file: Invert ticked, Blending Add, Scale 2, Offset 0. Then set the high layer to Linear Light; the image should look identical to the original.
What radius should I use for the Gaussian Blur?
There is no single number: it depends on resolution and how much of the frame the face fills. Raise the radius until pores disappear but the shapes of light and shadow remain. On a typical head-and-shoulders portrait we usually land between 4 and 10 pixels.
Is there a quicker alternative to frequency separation?
For light work, yes. The Spot Healing Brush handles individual blemishes, a negative Texture value in Lightroom or Camera Raw softens skin across many images, and Photoshop’s Neural Filters include Skin Smoothing with Blur and Smoothing sliders. Frequency separation gives the most control on a single hero image.
Checked against Adobe's documentation
Menu names, panels and shortcuts were checked against these Adobe help pages on 9 October 2026. Adobe renames things between releases; if a menu has moved, the help page is the place to look.
- Photoshop: channel calculations (Apply Image, Add and Subtract, Scale and Offset)
- Photoshop: blending mode descriptions
- Photoshop: filter effects reference
- Photoshop: bit depth
- Photoshop: merge and stamp layers
- Photoshop: group and ungroup layers
- Photoshop: paint with the Mixer Brush
- Photoshop: retouch images with the Clone Stamp tool
- Photoshop: default keyboard shortcuts (PDF)
- Photoshop: smooth skin with Neural Filters
- Lightroom: enhance texture details